Excel
Energy analysts and modellers frequently use Microsoft Excel for collaboration within teams, sharing models and data in a familiar format. To support these workflows, Convexity provides two-way I/O with Excel, allowing you to import models from Excel workbooks and export your Convexity models back to Excel format.
WARNING
Once you have imported your Excel workbook into Convexity, it will no longer have any link to the Excel workbook. That means any subsequent changes in the Excel workbook you imported will not automatically be reflected in the .db file. We may work on dynamic refreshes if users request it in the future.
Workbook Structure
To create an Excel file compatible with Convexity, you need to follow an exact template and ensure that the file is structured with separate worksheets for each component type and their associated time-series data.
To make this process easier, we have compiled example Excel workbooks for all of our template models, which you can access in the table below.
| Template Model | Description | Excel Workbook |
|---|---|---|
| Three Country Example | Simple three-country electricity market model | Download |
| Three Bus LMPs | Three-bus network demonstrating locational marginal pricing | Download |
| Ghana-Togo CEP | A capacity expansion model for two countries | Download |
| Forecast vs Truth | Ensemble price forecast with actual values | Download |
Note that the I/O functionality will automatically ignore any worksheets that do not follow this naming pattern, allowing you to include documentation, notes, or auxiliary data in separate tabs without interfering with the import/export process.
Import
Overview
You can use Microsoft Excel to build models that can be imported directly into Convexity. During the import process, the Excel file is converted into a Convexity .db file (see the schema for more details).
Importing from Excel presents a dialog that allows you to either create a new network or update an existing network.
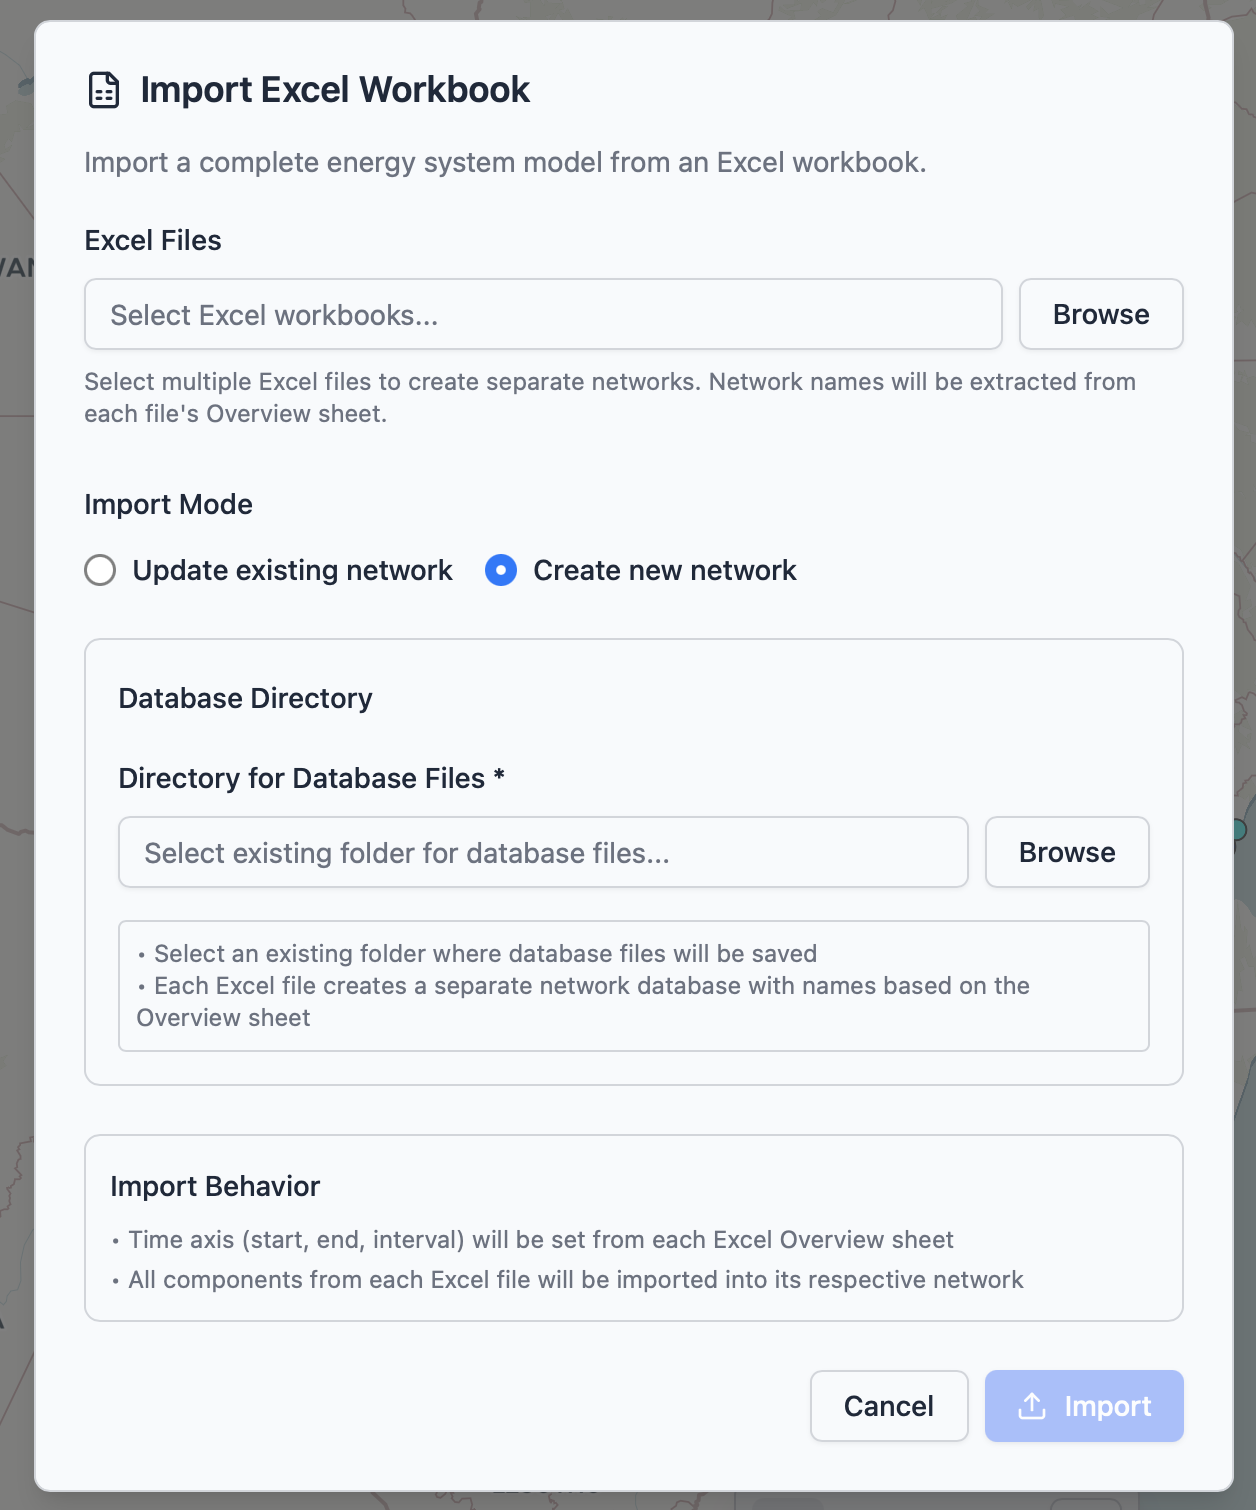
Creating a New Network
When creating a new network, you are first asked to select one or more Excel spreadsheets from a local directory. You can select multiple spreadsheets if you are running multiple scenarios. Next, select a path to save your .db file. Once you've completed these steps, click Import to start the process.
Note that the import process is not instantaneous and usually takes a few minutes to complete. You can track the progress of the import in the Jobs Manager utility tab.
Updating an Existing Network
You can also update an existing .db file from an Excel workbook, for example one that you may have imported previously. This workflow lets you create a network from an Excel spreadsheet, update values in the spreadsheet, and then re-import in "update" mode, which will update the values in your Convexity model without creating a new file. To do this, select the Update existing network option.
Export
You can also export any model created in Convexity to an Excel workbook. On doing that, your model defined in the .dB file will be converted to one or more Excel workbooks depending on the number of scenarios on your model.
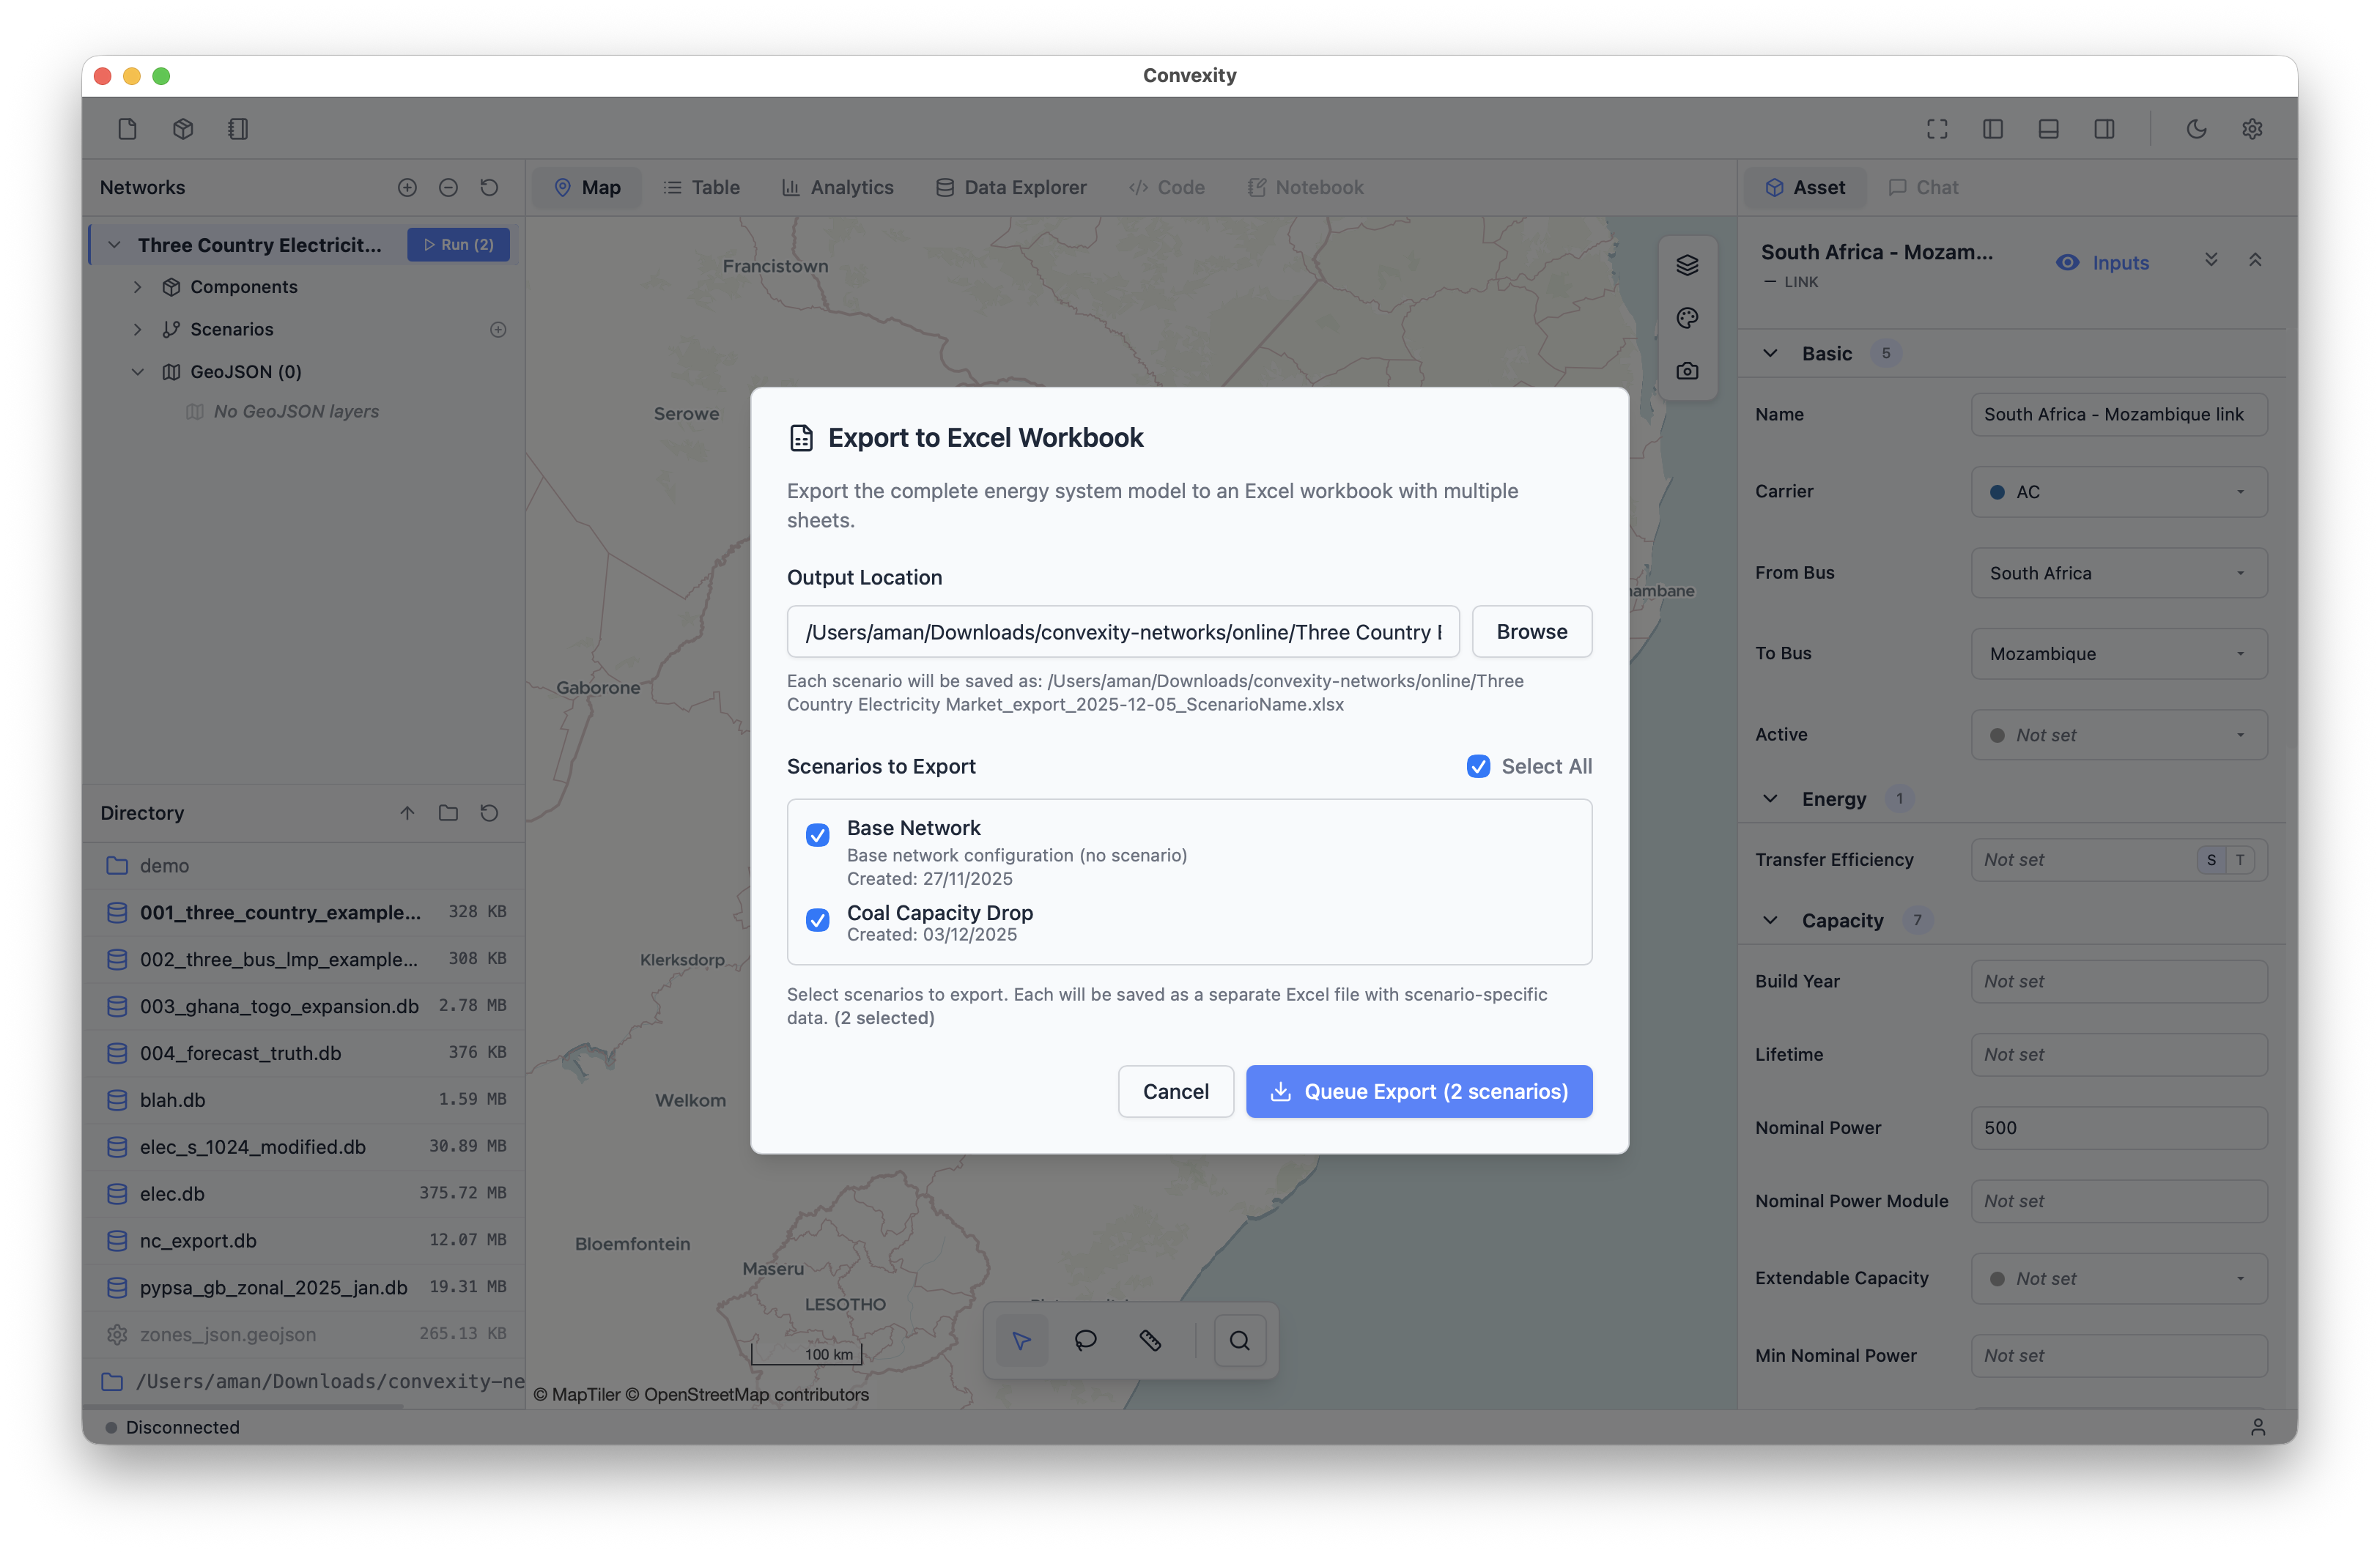
The Export to Excel option will reveal a popup where you can define the output path and select which scenarios you would like to export. Each scenario is exported as a separate spreadsheet.